Unknown: Automatic conversion of false to array is deprecated in /home/dh_xa5dcn/worms4earth.dreamhosters.com/catalog/controller/startup/startup.php on line 115Warning: Cannot modify header information - headers already sent by (output started at /home/dh_xa5dcn/worms4earth.dreamhosters.com/system/framework.php:42) in /home/dh_xa5dcn/worms4earth.dreamhosters.com/catalog/controller/startup/startup.php on line 119Warning: Cannot modify header information - headers already sent by (output started at /home/dh_xa5dcn/worms4earth.dreamhosters.com/system/framework.php:42) in /home/dh_xa5dcn/worms4earth.dreamhosters.com/catalog/controller/startup/startup.php on line 179Unknown: Optional parameter $data declared before required parameter $post_list_id is implicitly treated as a required parameter in /home/dh_xa5dcn/worms4earth.dreamhosters.com/catalog/model/plaza/blog.php on line 28Unknown: Automatic conversion of false to array is deprecated in /home/dh_xa5dcn/worms4earth.dreamhosters.com/catalog/model/plaza/blog.php on line 120 The Do-It-Yourself Worm Bin
The Do-It-Yourself Worm Bin

heading_title

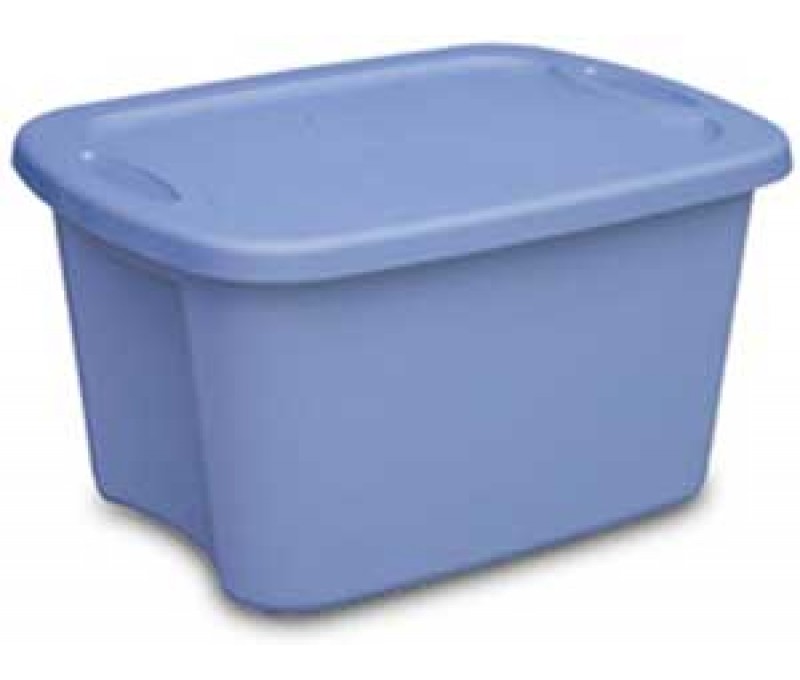
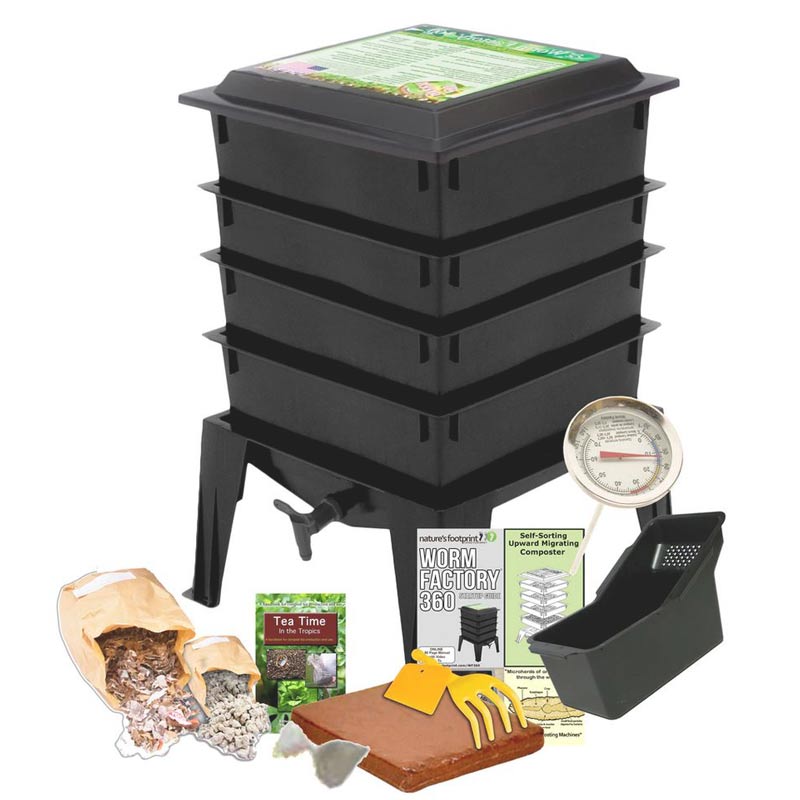
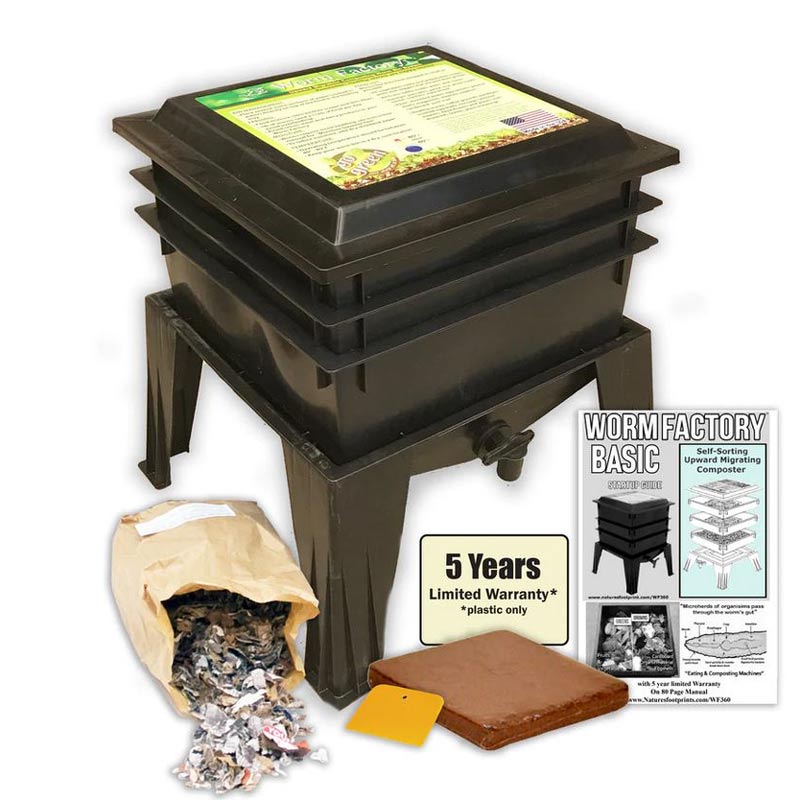
If you are reading this then it looks like you are ready to jump in and begin raising worms! To do this you basically have two choices to house your worms: You can purchase a manufactured grow system or build one yourself. In this article we will cover how to use common household materials and tools to make a Do-It-Yourself Worm Bin.

What You'll Need

  • 15 - 18 gallon plastic bin (
  • 2 lids for plastic bin (one each for top and bottom)
  • Drill
  • 1/8" drill bit
  • Package of peat mossorLarge bundle of shredded paper orcow, rabbit or horse manure
  • Garden Lime (optional)
  • Food scraps
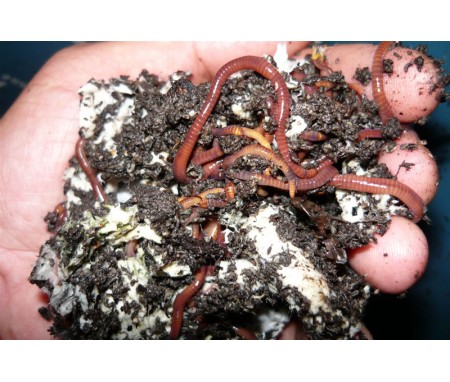
  • Earthworms (recommend 2 lbs)


Step 1: Drill Holes

Drill 1/8" holes on the sides and lid of your bin. Drill a total of 15-20 holes on the sides near the top and 15-20 holes in the bottom. This is for ventilation so your worms can get air and to allow excess moisture to drain. To catch any moisture or worms that may leave the holes in the bottom you can use a duplicate lid (buy 2 bins with lids, when you harvest the vermicompost you can store it in the extra bin).


Step 2: Moisten The Bedding

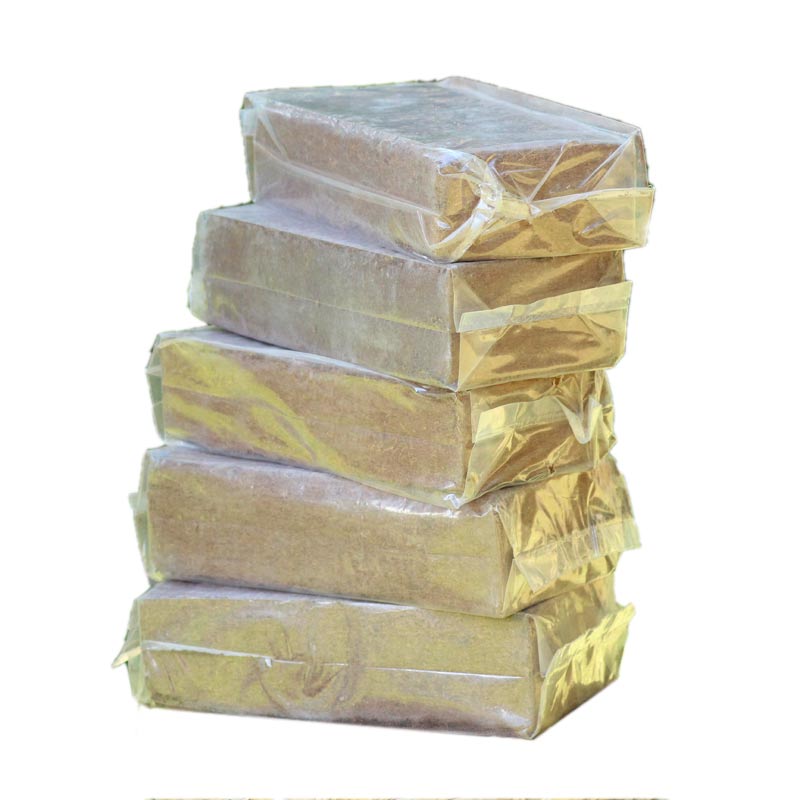
You can use peat moss, shredded paper, coconut coir or composted manure. Use a bucket or similar container and fill halfway with water. Completely submerge the shredded paper or peat moss. Manure doesn't need to be soaked. If using coconut coir check out our article on how to easily moisten a coconut coir brick. If using peat moss of paper, wring out the bedding like a sponge by tightly squeezing until it stops dripping. Just remember that worms don't like soggy bedding.
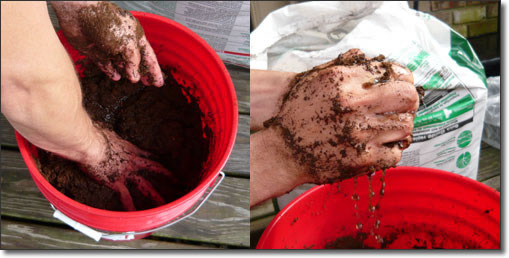
Squeeze water out of peat moss

Step 3: Add Bedding to Bin

There are a couple of different ways to do this, depending on what type of bedding you choose to use.

Good To Know Cut a piece of cardboard that matches the size of the bottom of your bin. Place it in the bottom of your bin before adding your bedding -- this will reduce the number of curious worms that may exit through the drainage holes in the bottom of your bin.

Shredded Paper

Add paper until bin is 3/4 full. Be sure to "fluff" up the bedding so that it isn't matted or too compacted. Add some dirt for "grit" -- this gives your earthworms something to help their gizzard pulverize their food. You can soak the paper in water or "mist" it with water (see video for example).


Good To Know Add shredded newspaper directly to your bin while dry, then mist it with water for your garden hose or spray bottle.

If your bin is too wet, try adding a layer of dry shredded newspaper on top.  In one or two days you'll find that the dry paper has absorbed the excess moisture.


Peat or Sphagnum Moss

Method 1: Fill bin 6 inches with moistened peat. Feed bin with kitchen scraps. Fluff bin when necessary.

Method 2: Fill bin 6 inches with moistened peat. Add 4-5 inches of shredded newspaper. Feed bin with kitchen scraps. Fluff bin when necessary.

Method 3: Layer the bin with peat, lime, and manure. This method ensures that the pH level of your bedding isn't as acidic as using just peat moss, plus calcium is essential to worm reproduction. Add 3 inches of peat, then sprinkle two teaspoons of garden lime, then add 3 inches of composted manure. Fluff bin when necessary.

Good To Know Don't use slaked or hydrated lime -- it will burn the worms.  Examine the label on the bag of lime.  If it lists "calcium hydroxide" DO NOT USE.

Coconut Coir

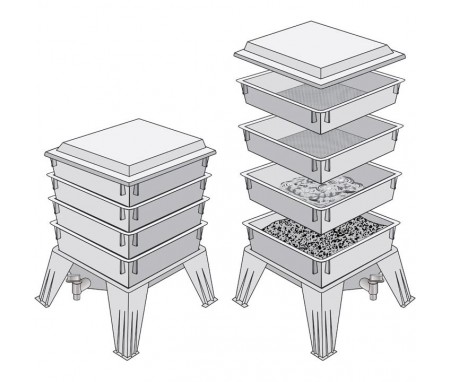
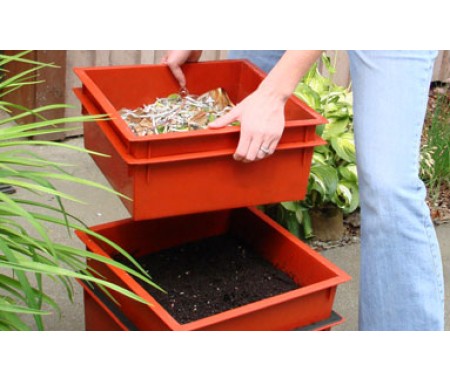
I typically use coconut coir with the Worm Factory and not the Do-It-Yourself habitat. Coconut coir is definitely my favorite bedding. However, due to its cost I think it would be better used in the upward migration system where the need for a lot of bedding is not as crucial as with a storage container. That said, if you DO use coconut coir in your Do-It-Yourself habitat, fill it at least 6 inches with the moistened coconut coir.

Step 4: Add Food Before Worms

Adding food before your worms arrive is a good idea -- it allows time for microorganisms to begin to decompose the food. Your worms actually digest the algae, fungus, and bacteria that grow on and help to decompose organic material, whether it be kitchen scraps or paper. Bury a fist-sized mass of food scraps to your bin around a week before you adding your worms.

Step 5: Add Worms

When your earthworms arrive, just gently dump the contents of the bag on top of your bedding. Give them a hand and gently spread them across the surface. You can leave the lid off for a little while -- this encourages your worms to burrow into your bin to escape the light.

Related Post
I Want To Raise Worms...Where Do I Start?

I Want To Raise Worms...Where Do I Start?

Do you want to raise worm but are unsure of where to begin? This article will point you in the right direction.
What Type Of Habitat Should I Use?

What Type Of Habitat Should I Use?

There are several things to be considered when building a worm habitat. Learn all about habitats in this post...
Where Should I Place My Worm Habitat?

Where Should I Place My Worm Habitat?

Find the best place to keep your worm habitat by analyzing your needs and the climate in which you live.