What Type Of Habitat Should I Use?
<<< Previous: How Many Worms Do I Need?
There are several things to be considered when building a worm habitat.
- What is my goal for raising worms?
- Do I raise them inside my home or outside in the back yard?
- What type and size of container should I use?
- Which species of worm should I raise?
- Does my local climate allow for worms to live outside during the winter?
- What will I feed my worms?
These are important questions that should be addressed before investing your time and efforts. Answering these questions will give a clear picture of how to successfully raise your worms.
You have established your goal for raising worms and decided on which species of worm you will raise. Your next step is to decide the type, size, and shape of the habitat in which you will raise them.
Types of Habitats
There are two types of worm habitat; prefabricated and constructed. The difference between the two is that the prefabricated habitat will be a container, likely made from plastic, which is already preformed such as a manufactured worm habitat, storage bin, or plastic bucket. The constructed habitat, likely made with wood or cement block, is one that you will design and build yourself. The prefabricated habitat is primarily utilized for indoor use whereas the constructed habitat is mostly used outside.The Prefabricated Habitat
There is quite a variety of prefabricated worm habitats from which to choose; storage bins, buckets, camping coolers, bathtubs, an old freezer or refrigerator, or manufactured specialty bins made specifically for raising worms. They come in a wide range of sizes and footprints – your choices can range from a small 5 gallon bucket to a massive 110 gallon bathtub, and/with many different size containers in between. The smaller sizes of these types of habitats, such as storage bins, buckets, and coolers, give them the convenience of mobility when you harvest the castings and/or refresh the bedding as well as the ability to relocate the habitat if so choose. The following descriptions are overviews of popular types of prefabricated habitats. I would venture to say that this list is not complete; however, the containers I have included should give you a wide enough range of examples from which to choose.Plastic Storage Bin
Pros- Lightweight, durable construction
- Easy to obtain
- Variety of sizes and colors
- Portability
- May be difficult to move when full
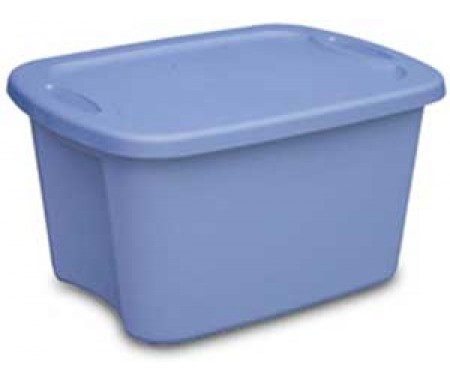
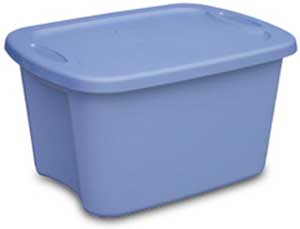 A very popular choice for do-it-yourself worm habitats is the plastic storage bin. Typically rectangular in shape, they are manufactured by a variety of companies, come in a wide range of sizes, are quite durable, and are reasonably priced. The portability is an important and convenient feature, allowing you to move your worms for harvesting, cleanup, and seasonal temperature changes. The convenience of the storage bin also extends to its availability from just about any store within driving distance. You may have a spare bin you are not using, or you may be able to consolidate some of your storage to make one available. You can even order online and have one delivered.
You will notice that, when shopping for storage containers, the size is measured in gallons. This best represents its volume and how much material it will hold. I recommend a bin that is 16-18 gallons in size for several reasons; 1) it is large enough to allow your worm colony to eat, mate, and expand their population 2) it is small enough to manage when moving it 3) it is small enough to easily find a space in which to keep it 4) it has enough volume for the amount of bedding needed to completely bury kitchen scraps.
When purchasing your bin, the manufacturer is not as important as the quality of the bin itself. The materials used on a less expensive discount bin tend to become brittle and split or tear. Durability is an important factor when choosing a home for your worms. Look for bins made with sturdy polyethylene material for a lifetime of durability and strength. If possible, use only storage bins that have been molded with opaque polyethylene that you cannot see through; darker colors work best. Worms are light sensitive and keeping them enclosed in complete darkness will keep the busy and productive during the daylight hours. The drawback to darker colors is that direct sunlight will heat the plastic quickly therefore raising the temperature of your bin to dangerous levels. Always keep your bins away from direct sunlight.
You will need to add a reservoir underneath your bin to catch the drainage from the additional moisture that is released when food decomposes. When converting the storage bin into an worm habitat, you will drill holes in the bottom of the bin to allow the escape of this excess moisture, also known as “worm tea”. You can use an extra lid, a spill tray, or an empty extra bin of the same size, or larger, to catch drainage.
Plastic Bucket
Pros- Portability
- Lightweight
- Inexpensive
- Limited volume; smaller worm populations & more frequent harvesting
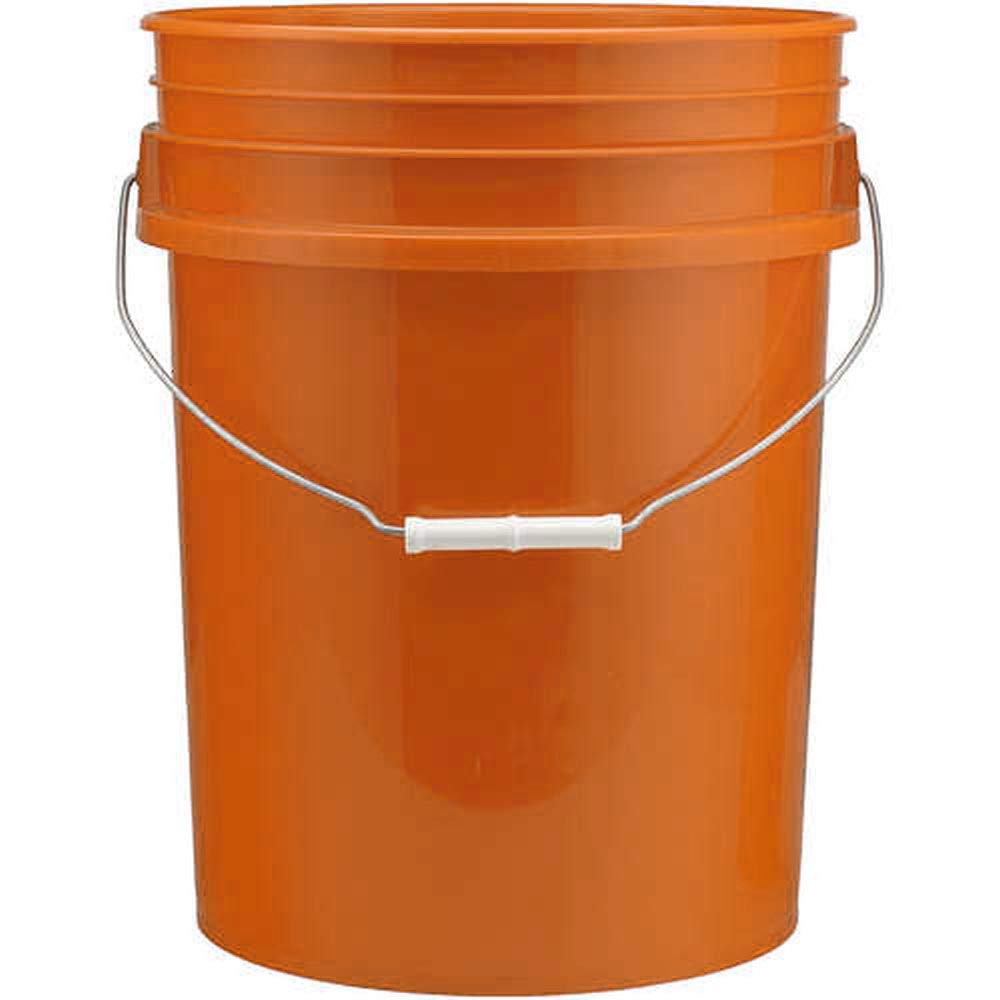 The plastic bucket is another popular worm habitat used by the vermicomposting enthusiast. It has a small footprint and can be used in unison with multiple buckets to form a composting system. As with storage containers, plastic buckets are measured in gallons, inexpensive, and can usually be found at your local hardware store. Most plastic buckets are five gallons in volume and come with a handle which makes them easy to carry.
Although the plastic storage container is preferred amongst many growers, the feature that stands out for the five gallon plastic bucket is its portability. Its small size and footprint gives you a bit more flexibility when deciding on a favored location. The smaller volume of bedding and worms also translates into less weight, which makes the bucket easier to carry. Its small footprint also allows you to maintain multiple buckets in a relatively small area. Those who prefer bucket-growing system will find it a bit more labor intensive due to the shorter times between adding bedding and harvesting castings; however, the quicker turnaround times for producing castings is the objective so this is to be expected.
As with the storage bins, you will be best served using a reservoir, such has a spill tray, to catch any drainage from the decomposing kitchen scraps that you are feeding your worms.
Bathtub or Freezer Chest
Pros- Well insulated
- Large capacity
- Durable
- Heavy, difficult to move
- Not readily available
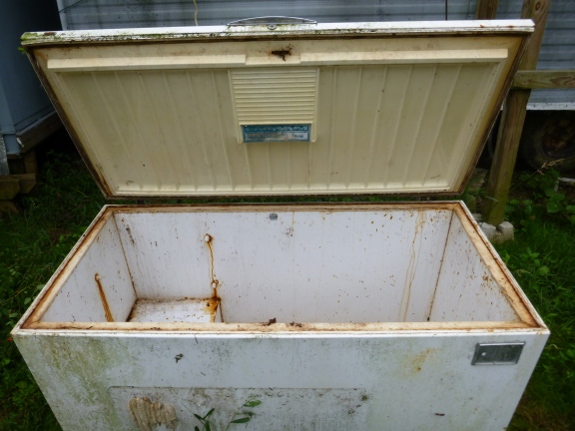 A bathtub or freezer chest is not a common type of earthworm habitat, more than likely due to their lack of availability as well as the difficulty in moving these items. Fundamentally, there is nothing wrong with using these types of prefabricated habitats. Both will hold plenty of bedding and thousands of earthworms. A freezer is well insulated and both come with a drainage system already installed. The materials used to construct them are non-toxic and safe for your earthworms. And using your old bathtub or freezer as an earthworm home repurposes these items, keeping them out of the local landfill.
There are a few key points to keep in mind when utilizing a bathtub or freezer; 1) due to the large capacity it will take much longer for your earthworms to fill up these habitats with castings 2) the large volume will require a commitment of several hours to change bedding and harvest castings 3) plan on making the location permanent where you set up your bathtub or freezer.
The Manufactured Habitat
Pros- Proven design that works
- Easy to use
- Durable
- May be expensive
- Replacing broken parts
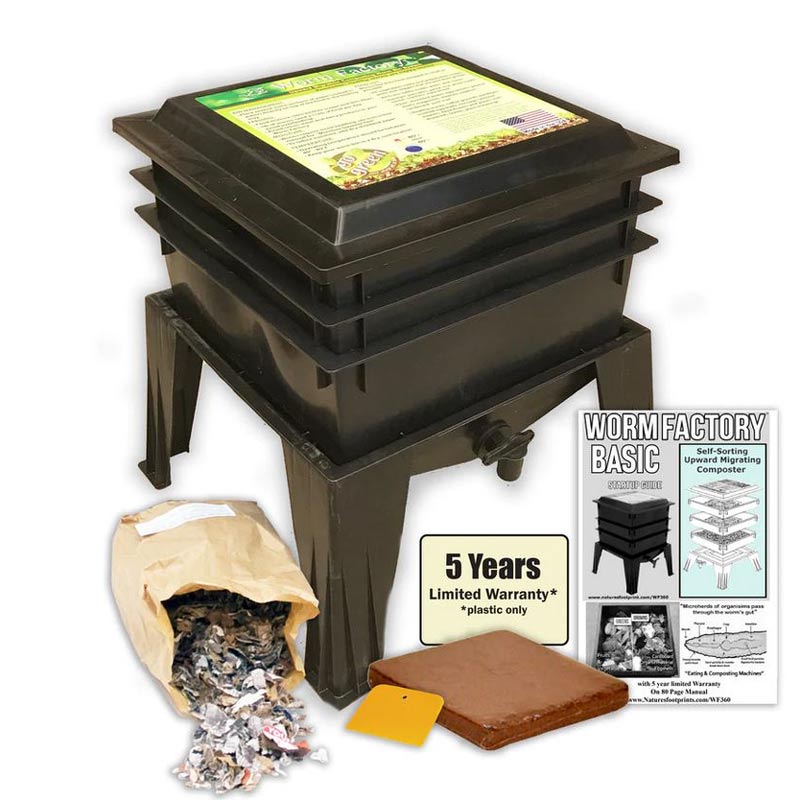
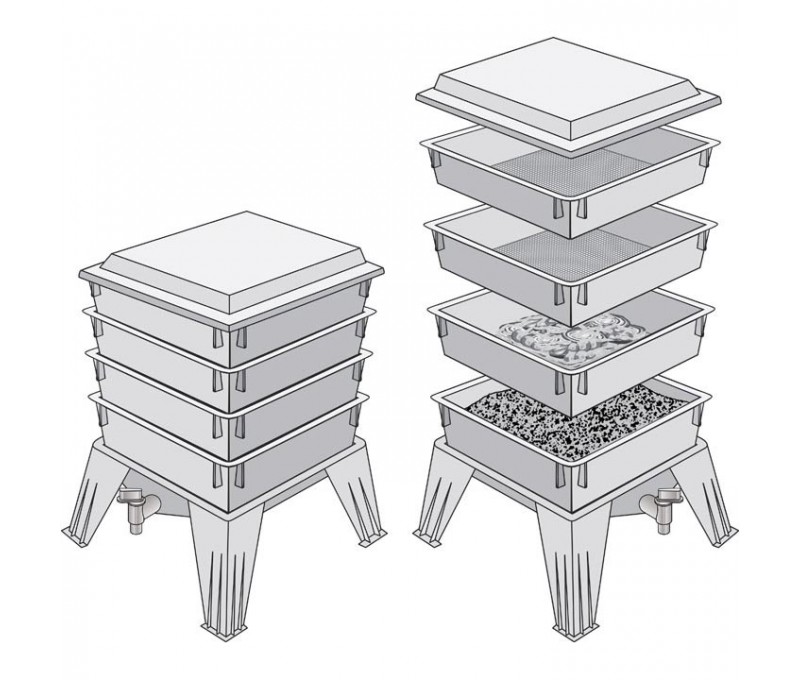
The manufactured habitat is a prefabricated container that has been specifically designed to house and raise earthworms. Most are constructed from molded plastic, with a few models using either treated wood or canvas fabric as the primary component. There are two basic types which are designed with different operational concepts; the upward migration system and the flow through system. Both types are designed to harvest the castings without removing the earthworms from the habitat itself. The difference between the two is how this is accomplished.
The Upward Migration System
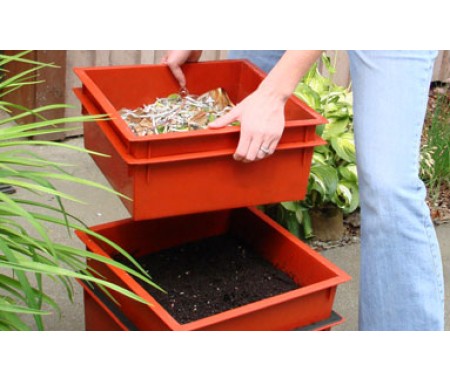
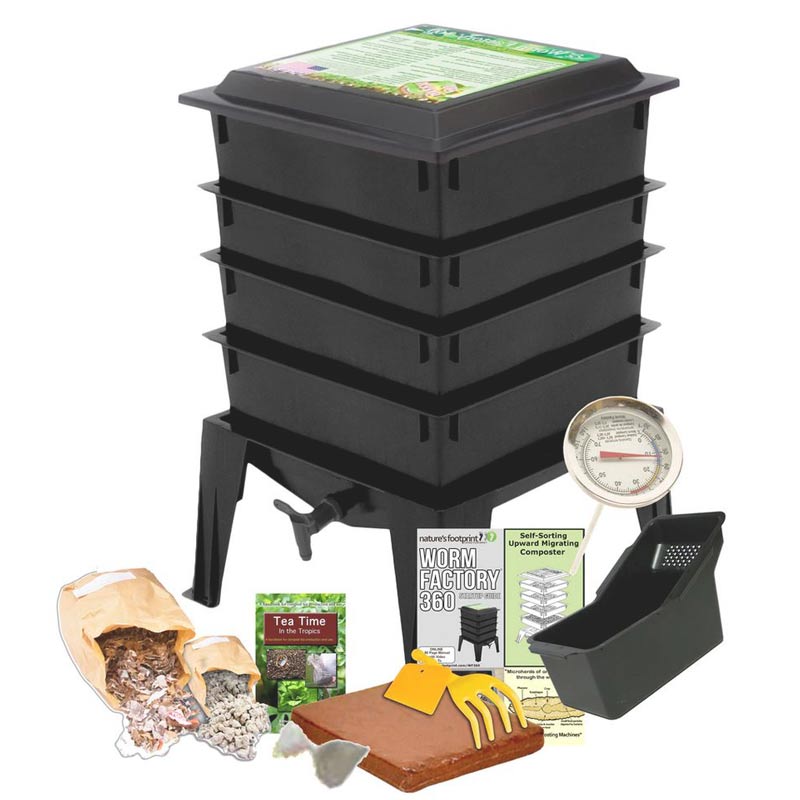 The upward migration system uses a structure of stacked trays, each tray being designed so that the earthworm can crawl through the bottom. This is accomplished by engineering the bottom of each tray with a pattern of holes similar to how a sieve or colander is designed. The holes are large enough for the earthworm to pass through, yet the tray bottom is strong enough not collapse when full of castings, food, dirt, and, of course, earthworms.
The operation is somewhat simple for the upward migration system; bedding, food, and earthworms are added to the first, or bottom, tray. The earthworms process and recycle the food into castings. When the first tray is full of processed material, a second tray is prepared with bedding and food and stacked on top of the first (you will stop feeding the first tray). Being attracted to the decomposing food above, the earthworms will begin to migrate upward into the second tray and continue to feed. Repeat this process with each additional tray. Eventually, most all of them will migrate upwards to the source of food, leaving the bottom trays virtually void of earthworms and ready to harvest without getting your hands dirty.
The Flow-Through System
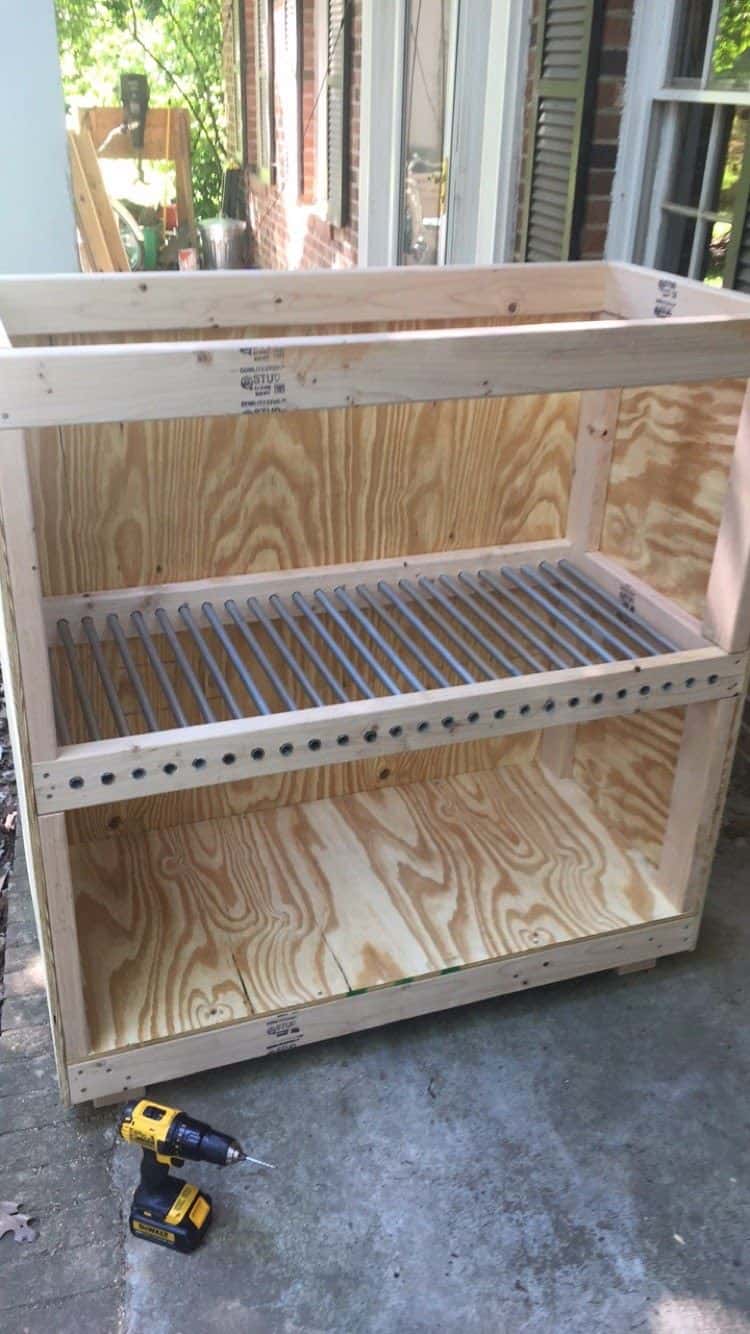 The flow through system uses gravity to aid in the harvest of the castings. In a flow through system, the bin is constructed with an open bottom and a screen or grid attached horizontally, essentially replacing the solid bottom. For the initial setup, a piece of paper or cardboard is placed on the screen to prevent bedding from falling through to the ground.
The paper will soon decompose as the bin is continuously fed from the top while the earthworms process and convert the food into castings. As the amount of castings in the bin increase, the mass of material inside the bin will also continue to gain weight, pushing the finished castings down into the screen. With the paper covering the screen now decomposed, the bottom of the bin is open to the fresh air. The air dries finished castings, allowing them to easily drop through the screen and be collected.
Flow through systems can be bought as a prefabricated, small system or constructed as a large commercial system. It is the preferred system for large commercial indoor earthworm farms.
Other Types of Prefabricated Habitats
Pros- Tremendous variety
- Repurposes potential garbage
- Stay away from iron, copper, or brass containers
For those of you who plan to use a container other than those listed in this chapter, take a couple of minutes and determine if it is suitable for an earthworm habitat. It should have minimum dimensions of 12” L x 12” W x 6” D. This will allow enough space for at least 1 pound of earthworms. You should stay away from containers made from metals that oxidize such as iron, copper and brass. Wood is a suitable material as long as it has been weatherproofed. Unprotected wood will eventually begin to decompose due to the wood absorbing moisture from the bedding. Ensure that you are able to drill drainage holes through the bottom and always use a reservoir to catch any drainage that may occur. Having a lid to cover the top is always a plus as it allows the earthworms to top feed while it is daylight.
The Constructed Habitat
For most beginners, the need to construct an earthworm habitat is unnecessary. They can easily take advantage of the assortment of prefabricated containers already available to them. Nevertheless, there may be circumstances for which you will need to construct your earthworm habitat. For example, you may be interested in raising earthworms in very large numbers so you will need to install long trenches called “windrows” on your property. Or you have a shed or barn in which you want to install shelf habitats. And some folks just like to build things and enjoy the challenge of using materials they already have on hand to build something.Constructed habitats are primarily employed by professional earthworm farmers who need to custom build in order to meet space requirements to maintain larger populations. This article is written primarily for the beginner who will not have the need to construct industrial habitats.

